Chewy Brownies Using Sourdough Starter
Highlighted under: Classic Baking Favorites
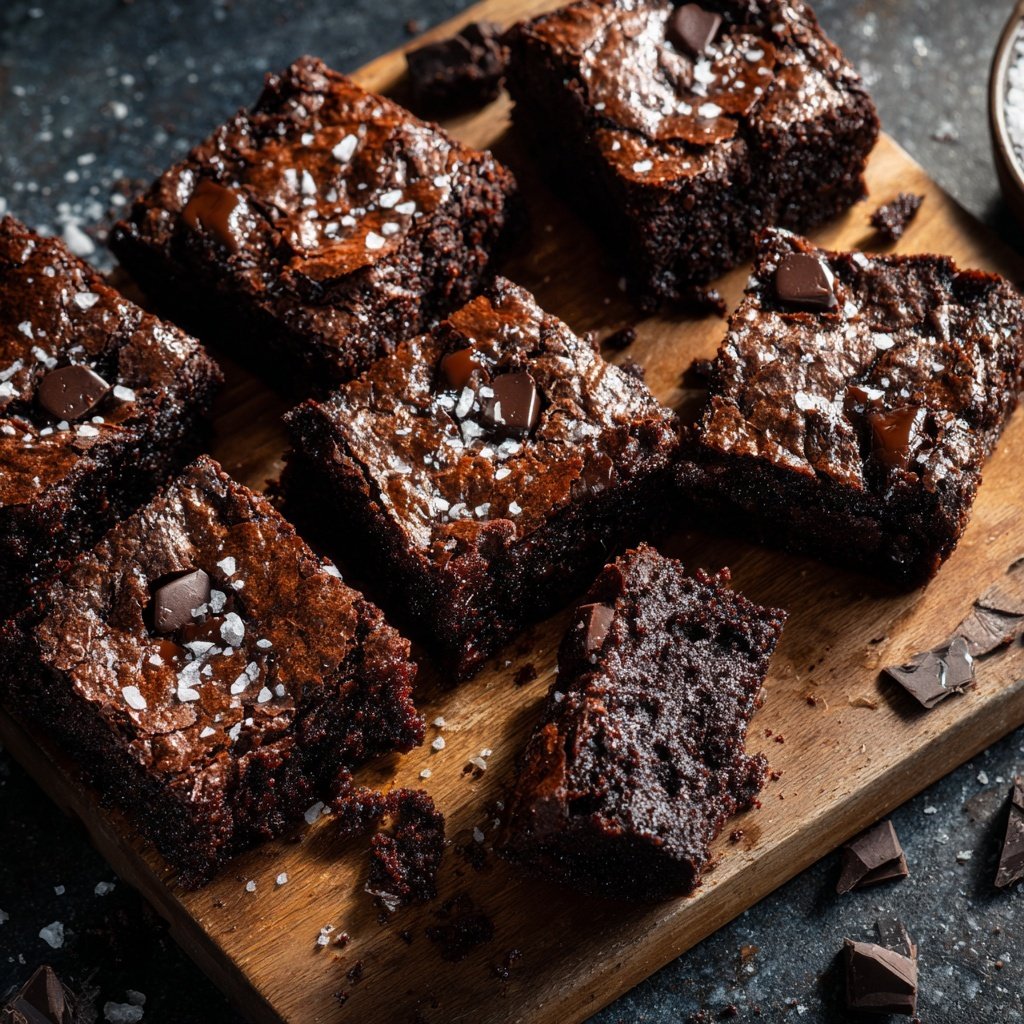
I absolutely love making these chewy brownies with my sourdough starter! The idea of incorporating the starter was born out of a desire to use up the excess I had each week. It really elevates the brownies, lending a slight tanginess that perfectly complements the rich chocolate. The result is a decadent dessert that’s incredibly satisfying. These brownies not only have a chewy texture, but they're also packed with layers of flavor. Trust me, they will be a hit at any gathering or simply as a treat to enjoy at home!
When I first started experimenting with sourdough, I never imagined I’d use my starter for something sweet. I decided to give it a try in a classic brownie recipe, and the results were phenomenal! They came out chewy, chocolaty, and had that unique flavor that only sourdough can impart. My friends couldn’t get enough, and I was thrilled to have found a delicious way to reduce food waste.
I’ve learned that the type of chocolate you use makes a significant difference in the depth of flavor. Using a mix of dark and semi-sweet chocolate gives a perfect balance. Also, letting the batter rest before baking helps yield a fudgier brownie, which is exactly what I love!
Why You'll Love These Brownies
- A unique tanginess from the sourdough that enhances the chocolate flavor.
- Perfectly chewy texture that satisfies chocolate cravings.
- Perfect for sharing or indulging during a cozy night in.
The Role of Sourdough Starter
In this brownie recipe, using sourdough starter introduces a delightful tang that beautifully complements the rich chocolate. The naturally occurring acids in the starter provide depth and complexity to the flavor profile. A ripe sourdough starter will yield a milder tang, while using it straight from the discard can enhance the brownies with a bolder taste. This unique aspect not only takes your brownies to the next level but also allows you to minimize waste from your sourdough baking routine.
Additionally, the hydration level in the sourdough starter contributes to the fudgy texture these brownies are known for. The moisture from the starter helps balance the dry ingredients, and the overall result is a chewy center with slightly crisp edges. If you find yourself with extra sourdough starter regularly, this recipe is a perfect way to put it to good use while achieving a culinary delight.
Techniques for Perfect Brownies
When mixing the wet and dry ingredients, be careful not to overmix the batter. Stirring just until combined helps maintain the brownies' chewy texture. Flour can develop gluten if mixed too vigorously, resulting in a tougher brownie rather than the desired soft chew. I like to use a spatula to gently fold the dry ingredients into the wet mixture, ensuring everything is incorporated without overworking it.
Baking time is crucial in achieving the perfect brownie. Start checking for doneness around the 25-minute mark, but if the toothpick inserted into the center comes out with too much batter, give it an additional 2-5 minutes in the oven. The goal is to pull them out when a few moist crumbs stick to the toothpick, which indicates that they will firm up as they cool. Keeping a close eye on them during the last few minutes of baking will help prevent over-baking.
Ingredients
For the Brownies
- 1 cup sourdough starter (discard or ripe)
- 1/2 cup unsalted butter
- 1 cup granulated sugar
- 2 large eggs
- 1 teaspoon vanilla extract
- 1/3 cup unsweetened cocoa powder
- 1/2 cup all-purpose flour
- 1/4 teaspoon salt
- 1 cup chocolate chips (dark or semi-sweet)
Make sure all your ingredients are at room temperature for the best results.
Instructions
Preheat and Prepare the Pan
Preheat your oven to 350°F (175°C) and grease a 9x9 inch baking pan or line it with parchment paper.
Melt Butter and Mix Wet Ingredients
In a medium saucepan, melt the butter over low heat. Once melted, remove from heat and stir in the sourdough starter, sugar, eggs, and vanilla extract until smooth.
Combine Dry Ingredients
In a separate bowl, whisk together cocoa powder, flour, and salt. Gradually add the dry mixture to the wet ingredients, stirring until just combined.
Add Chocolate Chips
Fold in the chocolate chips, making sure they are evenly distributed throughout the batter.
Bake the Brownies
Pour the batter into the prepared baking pan and spread evenly. Bake in the preheated oven for 25 minutes, or until a toothpick inserted in the center comes out with a few moist crumbs.
Cool and Serve
Allow the brownies to cool in the pan for at least 10 minutes before cutting them into squares. Enjoy!
Let the brownies cool completely for the best flavor and texture.
Pro Tips
- For added texture, consider sprinkling some chopped nuts on top of the brownies before baking. Adjust the sugar according to your sweetness preference, especially if you use sweetened chocolate chips.
Storing Your Brownies
To keep your brownies fresh, store them in an airtight container at room temperature for up to four days. For longer storage, you can refrigerate them, which will extend their lifespan by about a week. Make sure to let them come back to room temperature before serving; this will help revive their chewy texture.
If you want to make these brownies ahead of time, you can also freeze them. After they have cooled completely, cut the brownies into squares and wrap each piece in plastic wrap. Place the wrapped brownies in a freezer-safe bag or container and store for up to three months. When you're ready to enjoy them, simply let them thaw in the refrigerator or at room temperature.
Delicious Variations
For a fun twist, consider adding nuts like walnuts or pecans to the batter for an added crunch that contrasts nicely with the chewy texture. Roughly chop about half a cup and fold them in with the chocolate chips before baking. Not only do they give an extra layer of flavor, but they also add a delightful texture once baked.
If you're in the mood for something extra decadent, try swirling in a layer of peanut butter or caramel before baking. Simply dollop a few spoonfuls on top of the brownie batter and use a knife to gently swirl them together for a marbled effect. This added richness elevates the brownies and creates a delightful surprise with each bite.
Questions About Recipes
→ Can I use all-purpose flour instead of cake flour?
Yes, all-purpose flour works perfectly fine in this recipe.
→ What if I don’t have sourdough starter?
You can make these brownies with a regular chocolate brownie recipe by omitting the sourdough starter.
→ How should I store the brownies?
Store the brownies in an airtight container at room temperature for up to 4 days or refrigerate for a week.
→ Can I freeze these brownies?
Yes, you can freeze them! Wrap individual brownies tightly in plastic wrap and place them in a freezer bag.

Chewy Brownies Using Sourdough Starter
Created by: Beatrice Holloway
Recipe Type: Classic Baking Favorites
Skill Level: Easy
Final Quantity: 12 brownies
What You'll Need
For the Brownies
- 1 cup sourdough starter (discard or ripe)
- 1/2 cup unsalted butter
- 1 cup granulated sugar
- 2 large eggs
- 1 teaspoon vanilla extract
- 1/3 cup unsweetened cocoa powder
- 1/2 cup all-purpose flour
- 1/4 teaspoon salt
- 1 cup chocolate chips (dark or semi-sweet)
How-To Steps
Preheat your oven to 350°F (175°C) and grease a 9x9 inch baking pan or line it with parchment paper.
In a medium saucepan, melt the butter over low heat. Once melted, remove from heat and stir in the sourdough starter, sugar, eggs, and vanilla extract until smooth.
In a separate bowl, whisk together cocoa powder, flour, and salt. Gradually add the dry mixture to the wet ingredients, stirring until just combined.
Fold in the chocolate chips, making sure they are evenly distributed throughout the batter.
Pour the batter into the prepared baking pan and spread evenly. Bake in the preheated oven for 25 minutes, or until a toothpick inserted in the center comes out with a few moist crumbs.
Allow the brownies to cool in the pan for at least 10 minutes before cutting them into squares. Enjoy!
Extra Tips
- For added texture, consider sprinkling some chopped nuts on top of the brownies before baking. Adjust the sugar according to your sweetness preference, especially if you use sweetened chocolate chips.
Nutritional Breakdown (Per Serving)
- Calories: 250 kcal
- Total Fat: 12g
- Saturated Fat: 7g
- Cholesterol: 50mg
- Sodium: 160mg
- Total Carbohydrates: 35g
- Dietary Fiber: 2g
- Sugars: 20g
- Protein: 3g