Red Glossy Candy Apples
Highlighted under: Classic Baking Favorites
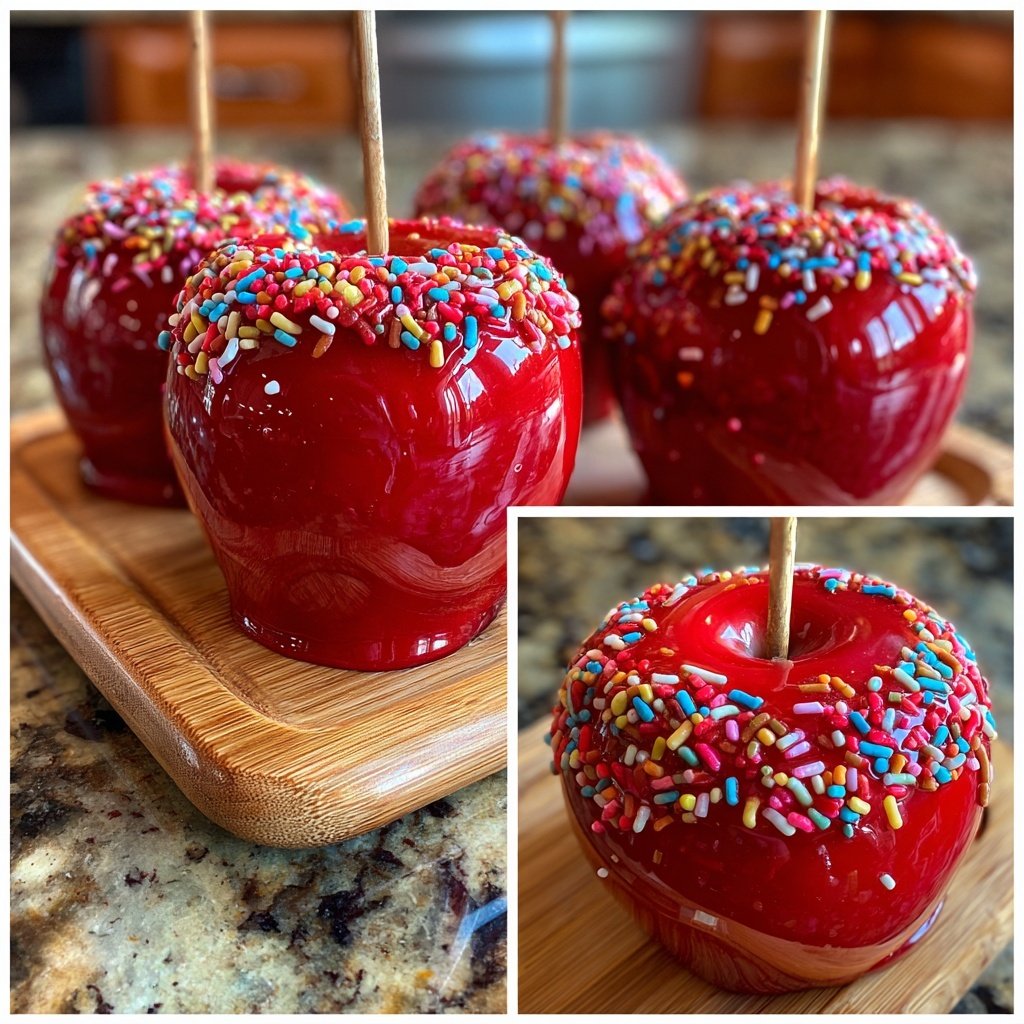
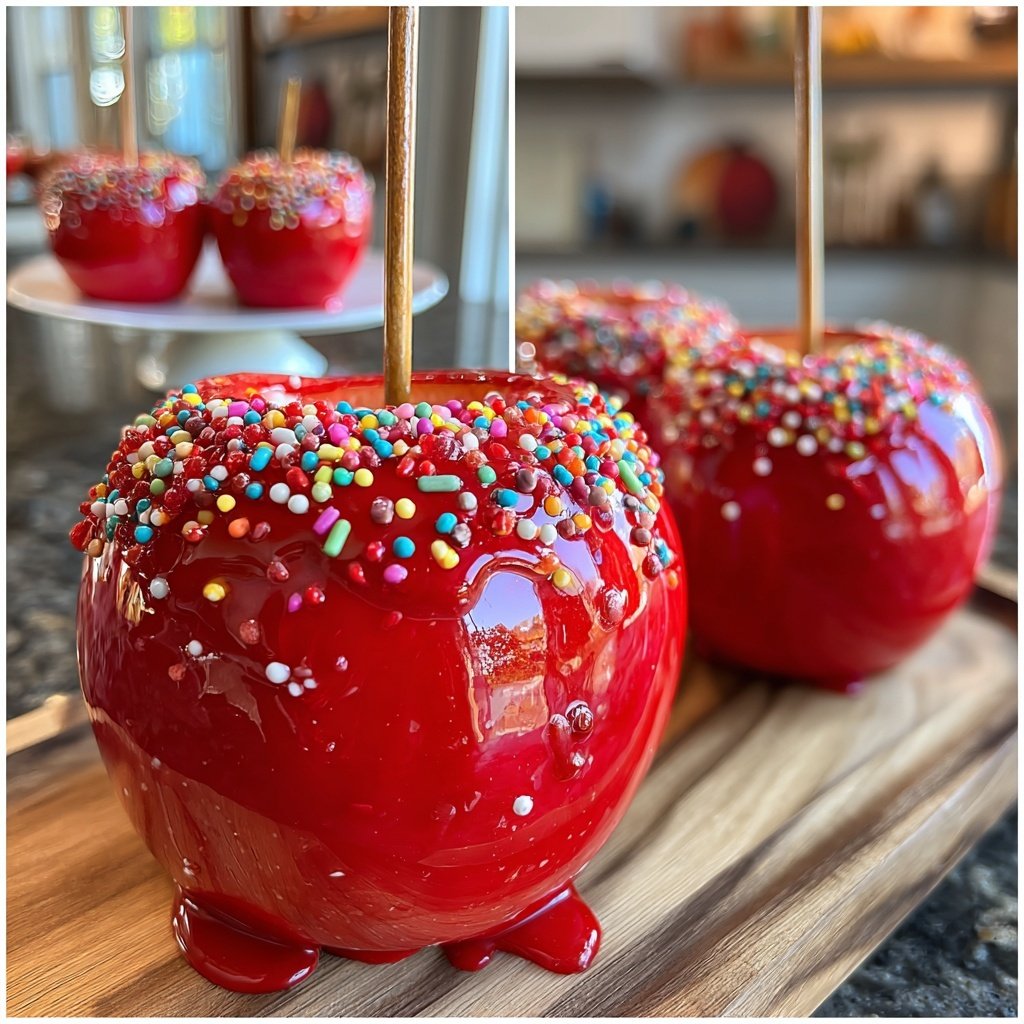
I absolutely love making Red Glossy Candy Apples, especially during autumn when the crispness of the apples pairs so wonderfully with the sweetness of the candy coating. The vibrant red color and glossy finish make them irresistible treats that are perfect for parties or just a fun dessert at home. I've perfected the technique to get that shiny finish, where the candy hardens just right, giving the apples a delightful crunch. Trust me, this recipe will spark joy for everyone who bites into them!
One of my fondest memories is making these candy apples with my family during Halloween. We experimented with different colors and flavors, and it became a beautiful tradition. The key is to cook the sugar just enough to achieve that perfect glossy finish. Not only do these apples look stunning, but the sweet and slightly tart flavor of the apple paired with the crunchy candy creates a delightful treat.
I discovered that using a candy thermometer is essential for ensuring the sugar reaches the right temperature for the coating to be glossy and firm. If you don't have one, keep a close eye on the bubbling sugar as it cooks. Timing is everything, and once you get it right, you'll enjoy these candy apples every season!
Why You'll Love These Candy Apples
- Vibrantly stunning presentation that delights at any gathering
- Perfect balance of crunchy candy exterior and juicy apple interior
- A nostalgic treat that brings joy and fun to all ages
Mastering the Candy Coating
To achieve that perfect glossy finish on your candy apples, precision is key. When cooking the sugar mixture, make sure to monitor the temperature closely. Using a candy thermometer is highly recommended; this ensures you reach the hard crack stage at 300°F. At this point, the mixture should feel syrupy but not burnt. If you don't have a candy thermometer, watch for large bubbles and a shiny surface, indicative of readiness.
Another critical factor is the timing during the dipping process. Once your candy mixture reaches the desired temperature, you must be quick to dip each apple. The candy coating should be glossy and smooth when it cools, so avoid prolonged dipping. A quick swirl is crucial, as it helps remove excess candy that might drip later but does not allow the candy to lose its shine.
Choosing the Right Apples
The type of apples you choose can significantly influence the overall flavor and texture of your candy apples. I recommend using firm, tart varieties like Granny Smith or Honeycrisps. Their crispness provides a satisfying crunch that beautifully contrasts with the sweetness of the candy coating. Avoid softer apples, as they may become mushy under the candy layer and jeopardize the delightful texture you're aiming for.
Additionally, washing and thoroughly drying your apples before dipping is essential. Any moisture on the surface can cause the candy to slide off or create a dull appearance instead of a glossy finish. I prefer to leave the apple skin intact for that extra layer of flavor and texture, but if you're serving these to young children, you might consider peeling them for easier handling.
Ingredients
Gather the following ingredients to create these delightful candy apples!
Ingredients
- 8 medium-size apples, washed and dried
- 2 cups granulated sugar
- 1 cup corn syrup
- 1/2 cup water
- 1 teaspoon red food coloring
- 1 teaspoon vanilla extract
- 8 wooden sticks or skewers
Make sure your apples are completely dry for the candy coating to stick properly.
Instructions
Follow these steps to make your Red Glossy Candy Apples perfectly!
Prepare the apples
Insert a wooden stick into the top of each apple, pushing it in about halfway. This will serve as a handle for dipping.
Cook the candy mixture
In a saucepan, combine the sugar, corn syrup, and water. Heat over medium heat, stirring until the sugar dissolves.
Add coloring and flavor
Once the mixture starts to boil, stop stirring. Allow it to bubble until it reaches 300°F (hard crack stage). Remove from heat and carefully stir in the red food coloring and vanilla extract.
Dip the apples
Quickly dip each apple into the hot candy mixture, swirling until fully coated. Allow the excess to drip off.
Cool the apples
Place the dipped apples on a parchment-lined baking sheet and let them cool completely until the candy hardens.
Enjoy your beautifully coated candy apples for a delicious treat!
Pro Tips
- For a fun twist, you can add sprinkles or chopped nuts to the warm candy coating before it hardens!
Storage and Serving Suggestions
Candy apples are best enjoyed fresh, however, if you need to store them, place them in a cool, dry area at room temperature. Avoid refrigerating them, as the humidity can cause the coating to become sticky. For best quality, serve them within 2-3 days. If you notice the candy softening, you can re-crisp them by setting them in a cool, breezy spot for a few hours.
When serving, you can elevate the presentation by adding sprinkles or crushed nuts right after dipping while the coating is still warm and sticky. This adds an extra layer of flavor and visual appeal, making your candy apples even more tempting!
Common Troubleshooting Tips
If you find that the candy is not sticking to your apples, it may be due to moisture on the surface or not heating to the correct temperature. Make sure the apples are completely dry before dipping. Also, monitor the candy’s temperature; if it's not hot enough, it won’t adhere properly.
Another common issue is the candy coating being too thick, resulting in a messy appearance. This can happen if you dip the apples too slowly or if the candy begins cooling too much before you dip. To remedy this, reheat the candy mixture gently to maintain the proper consistency, ensuring a smooth and even coating on your apples.
Questions About Recipes
→ Can I use different colors of food coloring?
Absolutely! You can experiment with any color of food coloring to create unique candy apples.
→ How long do these candy apples last?
They are best enjoyed within 2-3 days, stored in a cool, dry place.
→ Can I use different kinds of apples?
Yes, but tart apples like Granny Smith offer a great contrast to the sweet candy coating.
→ What should I do if my candy mixture is too thick?
If the candy hardens while you're dipping, you can gently reheat it on low to soften it again.
Red Glossy Candy Apples
Created by: Beatrice Holloway
Recipe Type: Classic Baking Favorites
Skill Level: Intermediate
Final Quantity: 8 servings
What You'll Need
Ingredients
- 8 medium-size apples, washed and dried
- 2 cups granulated sugar
- 1 cup corn syrup
- 1/2 cup water
- 1 teaspoon red food coloring
- 1 teaspoon vanilla extract
- 8 wooden sticks or skewers
How-To Steps
Insert a wooden stick into the top of each apple, pushing it in about halfway. This will serve as a handle for dipping.
In a saucepan, combine the sugar, corn syrup, and water. Heat over medium heat, stirring until the sugar dissolves.
Once the mixture starts to boil, stop stirring. Allow it to bubble until it reaches 300°F (hard crack stage). Remove from heat and carefully stir in the red food coloring and vanilla extract.
Quickly dip each apple into the hot candy mixture, swirling until fully coated. Allow the excess to drip off.
Place the dipped apples on a parchment-lined baking sheet and let them cool completely until the candy hardens.
Extra Tips
- For a fun twist, you can add sprinkles or chopped nuts to the warm candy coating before it hardens!
Nutritional Breakdown (Per Serving)
- Calories: 200 kcal
- Total Fat: 0g
- Saturated Fat: 0g
- Cholesterol: 0mg
- Sodium: 0mg
- Total Carbohydrates: 52g
- Dietary Fiber: 3g
- Sugars: 50g
- Protein: 0g